
Here's the first stage. I began with the sky, lightly outlining the moon and its ring, then filled in the sky colors working upward and downward from the bottom of the moon from dark to light. I overlapped the colors where they meet to begin blending them.
On the owl, I was really just trying to block in the base colors - the colors upon which I would later add the darker plumage patterns. As always when working with colored pencil, I had to be sure to preserve the lights.

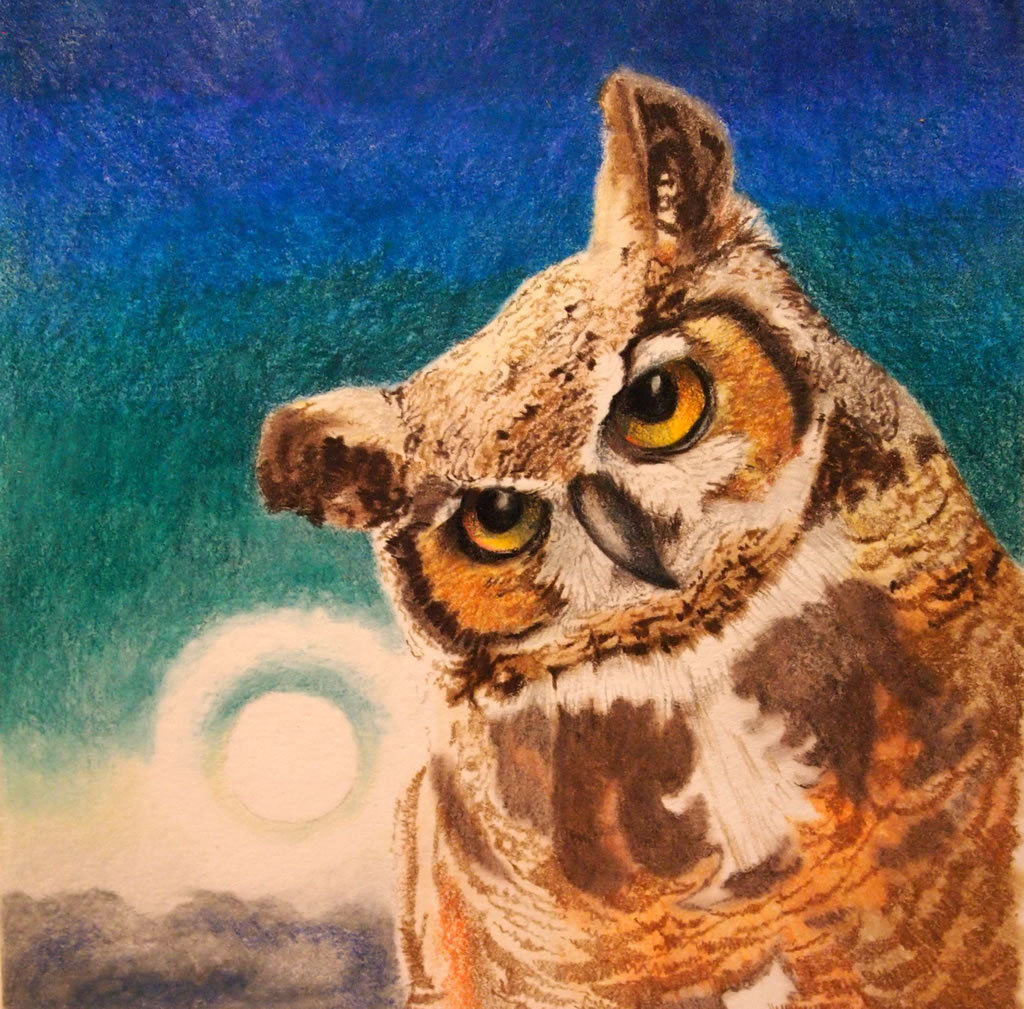
Now I'm ready to proceed with more colored pencil. In the sky area, I add a second layer, but this time I use only two colors in the darker upper area rather than four. This automatically achieves more blending as the colors layer.
For the owl, I add detail, working with darker colors over the underlying lighter areas. This is a tedious process, but worth the effort. As I add detail, I also add shadow areas. For the body, I will need another layer since the body is pretty dark. At this stage, I'm just blocking in the larger dark patterns on the plumage and intensifying the reddish color.
I leave the owl's head as is, but go over the sky and the owl's body with solvent to blend.

The upper sky seemed a little bright, so I went over it with a layer of a grayer blue to dull it a bit.
As I look at him now, I think I want to enlarge the pupils a bit along the lower edges - the irises are a little too wide.
By the way, when I was blogging last night I realized that poor Owl number 6 had a bug-eyed look, so today I corrected that by adding dark to the irises above the pupils.
This owl went more quickly than the others. Perhaps I'm finally getting the hang of working with the colored pencil and solvent. I don't think I detailed this before, but I'm applying Gamsol with a q-tip and have to switch to a clean q-tip quite often as it picks up color. I'm using Prismacolor pencils on Stonehenge drawing paper, sometimes using white and sometimes fawn. This one is on white paper.
No comments:
Post a Comment